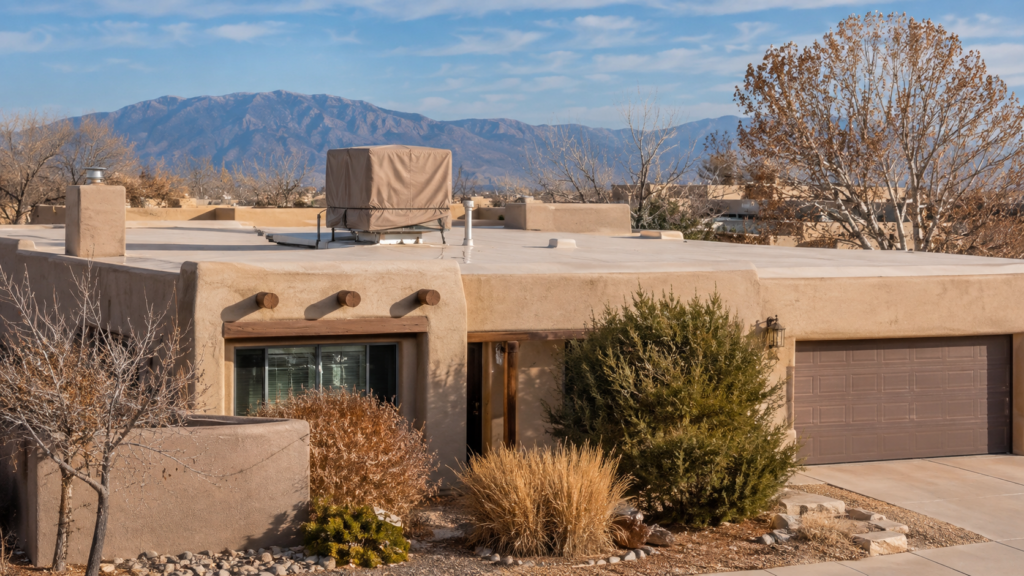
When summer ends and cooler weather starts moving in, your swamp cooler needs attention before the first hard freeze. A properly winterized evaporative cooler can help prevent frozen water lines, cracked fittings, rust, roof leaks, damaged pads, and expensive spring repairs.
If you are searching for swamp cooler winterization, the main thing to know is this: winterizing a swamp cooler means shutting off the water supply, draining the line, cleaning the unit, removing or protecting the pads, inspecting for damage, covering the cooler, and making sure the system is protected from freezing temperatures. Some basic steps may be manageable for homeowners, but roof access, water line issues, rust, electrical concerns, and leaks are all good reasons to call a professional.
This guide explains how swamp cooler winterization works, what steps are involved, common mistakes to avoid, and when it is worth hiring a pro before winter weather causes damage.
What Is Swamp Cooler Winterization?
Swamp cooler winterization is the process of preparing an evaporative cooler for cold weather. Since swamp coolers use water to cool air, they must be properly shut down before freezing temperatures arrive.
A typical swamp cooler winterization process may include:
- Turning off the cooler
- Shutting off the water supply
- Draining the water line
- Draining the cooler pan
- Cleaning out dirt and mineral buildup
- Inspecting the float valve, pump, and fittings
- Removing or checking the pads
- Inspecting for rust or leaks
- Installing a winter cover
- Closing vents or dampers where applicable
- Checking for roof or water damage
- Preparing the system for easier spring startup
The goal is simple: protect the swamp cooler from freeze damage and prevent winter moisture, wind, debris, and cold air from causing problems.
Why Swamp Cooler Winterization Matters
A swamp cooler is designed to move air and water during warm weather. It is not designed to sit full of water during freezing conditions.
When water freezes, it expands. That expansion can crack water lines, split fittings, damage valves, and create leaks. If your swamp cooler is on the roof, a leak may not be obvious right away. By the time you notice water stains on the ceiling, the damage may already be more expensive than the original winterization service would have been.
Proper winterization can help prevent:
- Frozen water lines
- Cracked fittings
- Rusted pans
- Leaking cooler cabinets
- Damaged float valves
- Bad pump connections
- Roof leaks
- Musty odors
- Cold drafts through ducts
- Damaged pads
- Expensive spring repairs
Even if you do not use the swamp cooler during winter, the unit is still exposed to rain, snow, wind, debris, freezing temperatures, and seasonal wear.
Swamp Cooler Winterization Checklist
Here is a quick checklist before we go into each step in more detail.
| Winterization Step | Why It Matters | DIY or Pro? |
|---|---|---|
| Turn off system | Prevents accidental operation | DIY |
| Shut off water supply | Stops water entering unit | DIY if accessible |
| Drain water line | Prevents freeze damage | Pro recommended if rooftop or hard to access |
| Drain cooler pan | Prevents rust and ice damage | DIY if safe |
| Clean debris | Reduces corrosion and odors | DIY if safe |
| Inspect pads | Prevents mold and poor spring startup | DIY or pro |
| Check float and fittings | Finds leak risks | Pro recommended |
| Install cover | Protects unit from weather | DIY if safe |
| Close vents/damper | Reduces cold drafts | DIY or pro |
| Inspect for rust/leaks | Prevents bigger repairs | Pro recommended |
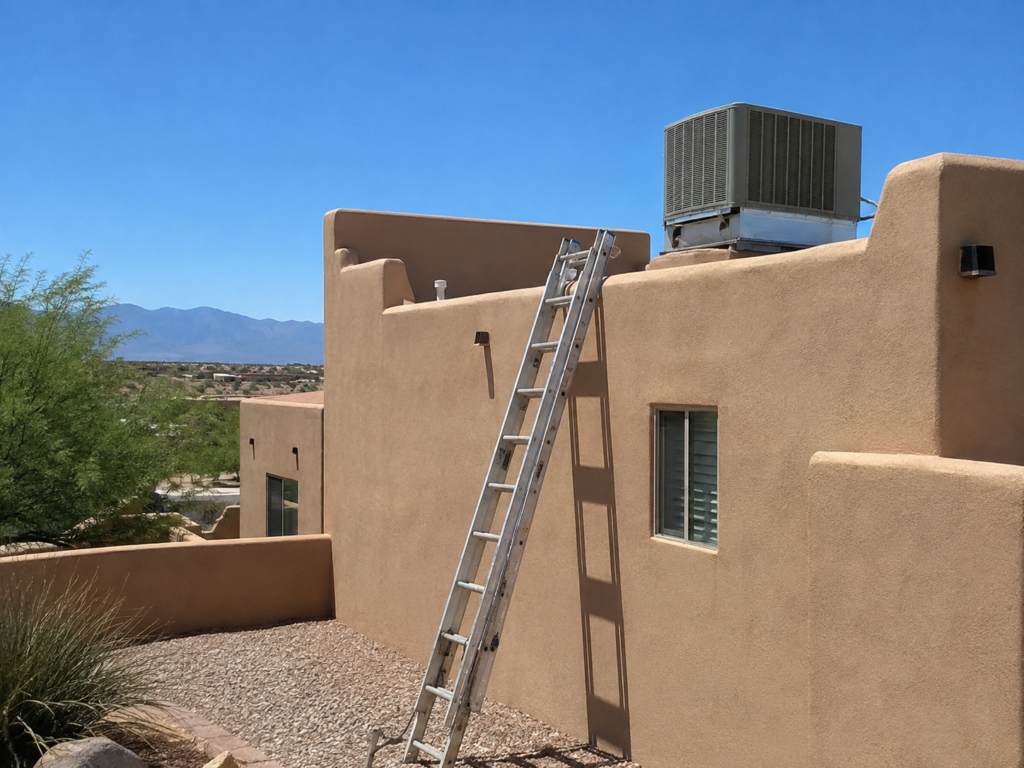
If your swamp cooler is on a roof, safety should be the first consideration. A professional service call is often worth it simply to avoid ladder and roof risks.
How to Winterize a Swamp Cooler
The exact process depends on your unit, climate, roof access, and plumbing setup, but most evaporative coolers follow the same basic winter shutdown steps.
1. Turn Off the Swamp Cooler
Before doing any work, make sure the swamp cooler is turned off at the thermostat, wall switch, or control panel. If you are opening the unit or inspecting electrical components, power should be safely disconnected.
Never work around moving parts, belts, motors, or electrical wiring while the unit is powered.
Why this matters
Swamp coolers have moving mechanical parts. Even if the unit seems simple, the motor, blower, belt, pump, and wiring can create safety risks if the system turns on unexpectedly.
2. Shut Off the Water Supply
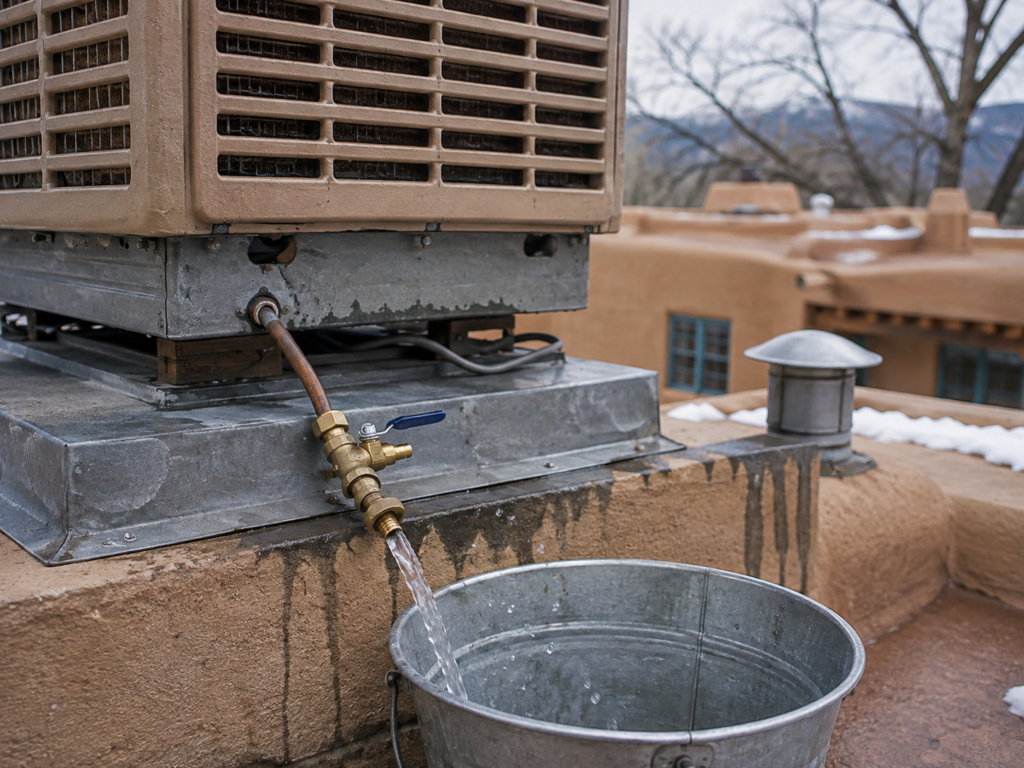
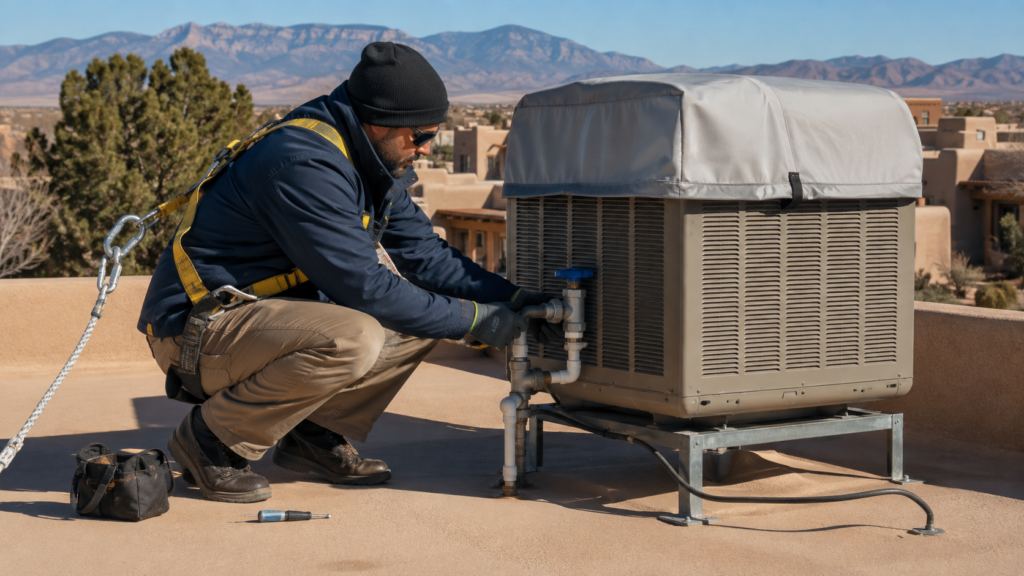
The most important part of swamp cooler winterization is shutting off the water supply to the cooler. If water continues feeding the unit during freezing weather, the line or fittings may crack.
Most systems have a shutoff valve located somewhere along the water supply line. This may be near the cooler, in an attic, in a crawlspace, near a hose bib, or inside the home depending on how the system was installed.
What to look for
- Small copper, plastic, or poly water line
- Shutoff valve
- Compression fittings
- Signs of dripping
- Corrosion
- Cracked or brittle tubing
If the valve is stuck, corroded, leaking, or hard to access, do not force it. A damaged valve can quickly turn into a plumbing problem.
3. Drain the Swamp Cooler Water Line
After the water is shut off, the line should be drained so standing water does not freeze inside it.
This is where many DIY winterizations go wrong. Homeowners may turn off the water but forget that water is still sitting in the line. When freezing weather arrives, that trapped water can expand and split the tubing or damage fittings.
Signs the water line may not be properly drained
- Water drips when fittings are opened
- Line sags and holds water
- Water remains in the tubing
- Shutoff valve leaks
- Line freezes every winter
- Spring startup reveals cracked tubing
When to call a pro
Call a professional if the water line is on the roof, runs through a difficult area, has old fittings, or you are unsure how to fully drain it. This is one of the most important freeze-prevention steps.
4. Drain the Cooler Pan
The pan inside the swamp cooler holds water during operation. Before winter, that water should be drained.
Leaving water in the pan can lead to:
- Ice formation
- Rust
- Mineral buildup
- Musty odors
- Pan damage
- Leaks
- Shortened equipment life
After draining, remove loose dirt, leaves, and mineral deposits from the bottom of the pan. A clean, dry pan is less likely to corrode during the off-season.
5. Clean Out Dirt, Leaves, and Mineral Buildup
Swamp coolers collect dust, leaves, insects, mineral deposits, and debris during the cooling season. If that material sits inside the unit all winter, it can trap moisture and contribute to rust, odor, and poor spring performance.
Areas to clean
- Bottom pan
- Around the pump
- Pad frames
- Water distribution lines
- Drain area
- Cabinet corners
- Around float valve
- Near fittings and tubing
You do not need to make the cooler look brand new, but removing debris and buildup helps protect the unit.
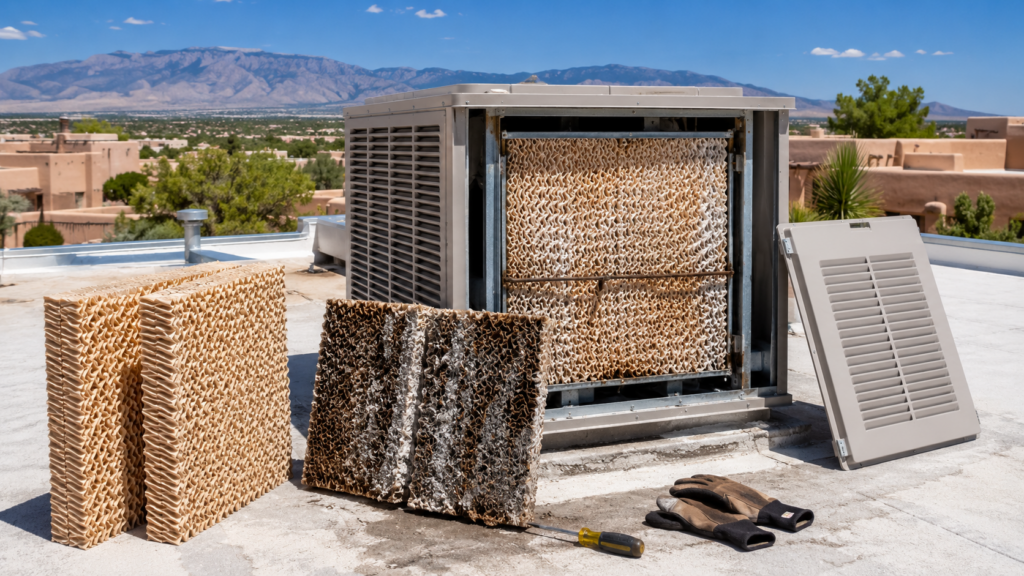
6. Check or Remove Swamp Cooler Pads
Swamp cooler pads should be inspected during winterization. If they are old, clogged, musty, or covered in mineral buildup, they may need to be removed or replaced.
Some homeowners replace pads during spring startup. Others prefer removing old pads during winterization so the unit does not sit all winter with dirty, wet, mineral-filled media inside.
Replace or remove pads if they are:
- Brittle
- Moldy or musty
- Clogged with minerals
- Falling apart
- Dark, dirty, or deteriorated
- Restricting airflow
- Holding moisture
Old pads are one of the most common reasons a swamp cooler smells bad or performs poorly when warm weather returns.
7. Inspect the Float Valve, Pump, and Fittings
The float valve controls water level in the pan. The pump circulates water to the pads. Fittings connect the water line and distribution system. During winterization, these parts should be checked for wear or leaks.
Look for:
- Corrosion
- Cracks
- Loose fittings
- Stuck float valve
- Damaged pump cord
- Brittle tubing
- Mineral buildup
- Signs of past leaks
- Rust stains
If any of these parts look questionable, replacing them before winter or during spring startup can prevent future problems.
8. Check for Rust, Cracks, and Leaks
A swamp cooler that already has rust or cracks is more vulnerable during winter. Moisture, freezing temperatures, and debris can make existing damage worse.
Check the cabinet and pan carefully.
Warning signs
- Rust holes
- Soft or flaking metal
- Water stains around the base
- Cracked pan
- Loose drain fitting
- Rusty screws or seams
- Previous leak marks on roof
- Water stains inside the home
If the cooler is leaking or heavily rusted, winterization alone may not be enough. You may need repair or replacement recommendations.
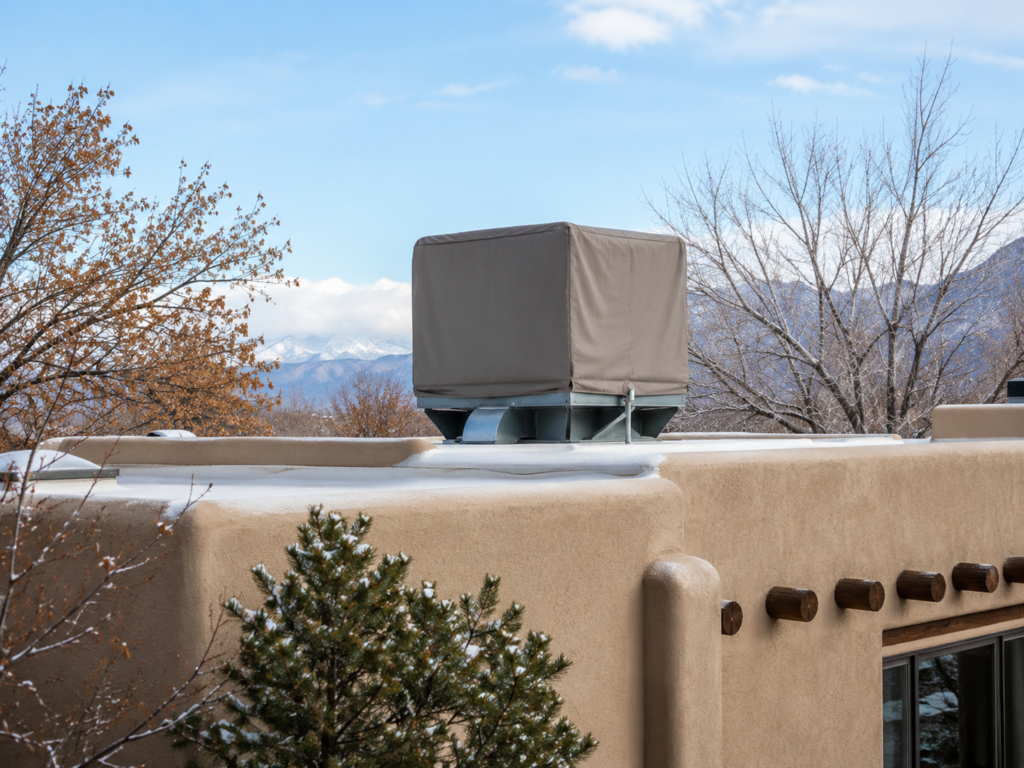
9. Install a Swamp Cooler Cover
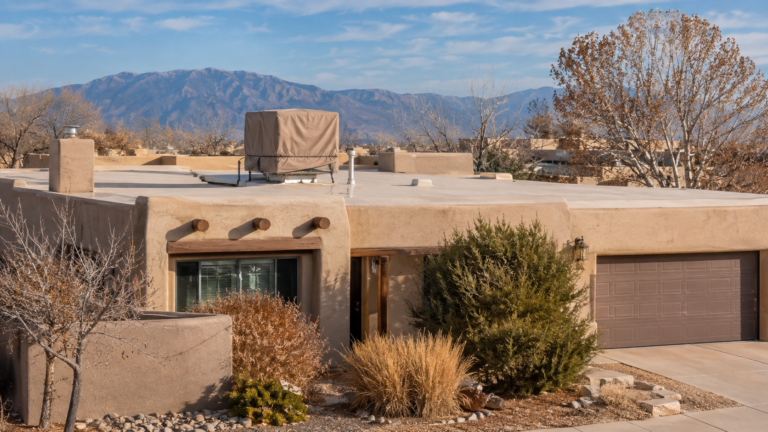
A swamp cooler cover helps protect the unit from wind, rain, snow, dust, leaves, and cold air. It can also help reduce drafts entering the home through the cooler.
Make sure the cover fits properly and is secured well enough to handle winter weather.
Benefits of a swamp cooler cover
- Reduces debris buildup
- Helps protect cabinet from weather
- Can reduce cold drafts
- Keeps snow and rain out of the unit
- Helps preserve pads and internal parts
- Improves off-season protection
A loose or poorly fitted cover can flap in the wind, tear, or expose the unit. If the cooler is difficult to access, have a professional install the cover.
10. Close Vents or Dampers Where Applicable
Some swamp cooler systems allow homeowners to close dampers or install interior vent covers to reduce cold drafts during winter.
This step depends on the type of system and duct setup. If cold air comes through the vents during winter, your cooler may not be fully sealed from outside air.
Why this matters
A poorly sealed swamp cooler can let cold air enter the home, making heating less efficient and rooms less comfortable.
If you are unsure whether your system has a damper or how it should be closed, ask a professional during winterization service.
Common Swamp Cooler Winterization Mistakes
Many winter damage issues happen because one small step was missed.
Mistake 1: Turning Off the Cooler but Not the Water
The cooler may be off, but if the water supply remains active, the line and fittings can still freeze or leak.
Mistake 2: Shutting Off Water but Not Draining the Line
This is one of the biggest mistakes. Water trapped in the line can freeze, expand, and crack the tubing.
Mistake 3: Leaving Water in the Pan
Standing water can freeze, rust the pan, and create musty odors.
Mistake 4: Leaving Old Pads Inside
Dirty pads can hold moisture, minerals, dust, and odor through the off-season.
Mistake 5: Skipping the Cover
An uncovered swamp cooler is exposed to weather, wind-blown debris, and cold air.
Mistake 6: Ignoring Roof Safety
If the unit is on the roof, DIY winterization may not be worth the risk. Ladder falls and roof accidents can be far more serious than a service call.
Mistake 7: Waiting Until After the First Freeze
Once freezing weather hits, damage may already be done. Winterization should happen before freezing temperatures arrive.
DIY Swamp Cooler Winterization vs Professional Service
Some homeowners can handle basic tasks, but not every winterization should be DIY.
DIY may be reasonable if:
- The unit is easy to access
- You can safely reach the cooler
- You know where the water shutoff is
- The water line drains easily
- The cooler is in good condition
- There are no signs of leaks
- You are comfortable with basic maintenance
Call a pro if:
- The cooler is on the roof
- You are uncomfortable with ladder access
- The water line is old or brittle
- The shutoff valve is stuck
- The cooler has leaked before
- You see rust or cracks
- The unit has electrical issues
- The float valve or fittings look damaged
- You want the system fully checked before winter
- You want fewer surprises during spring startup
Professional swamp cooler winterization can help catch issues that are easy to miss, especially when the unit is older or located on the roof.
Swamp Cooler Winterization vs Spring Changeover
Winterization and spring changeover are opposite seasonal services, but they work together.
| Seasonal Service | Purpose | Main Tasks |
| Winterization | Protect cooler from freezing weather | Shut off water, drain lines, clean, cover, inspect |
| Spring Changeover | Prepare cooler for summer use | Remove cover, reconnect water, check pads, test pump, inspect airflow |
A good winterization makes spring startup easier. If the water line is drained, the pan is clean, and the unit is protected, there is less chance of finding leaks, rust, or damaged parts when warm weather returns.
When Should You Winterize a Swamp Cooler?
The best time to winterize a swamp cooler is before freezing temperatures arrive. Do not wait until the first hard freeze is already in the forecast.
In many areas, homeowners schedule winterization in early to mid-fall. The right timing depends on your local climate, elevation, and weather patterns.
Good signs it is time to winterize
- You no longer need cooling during the day
- Overnight temperatures are dropping
- Freezing weather is approaching
- The unit will not be used again until spring
- You are switching from cooling to heating
- Leaves and debris are collecting around the unit
If you are still using the cooler occasionally, keep an eye on nighttime lows. Once freezing temperatures are possible, it is time to shut it down.
What Happens If You Do Not Winterize a Swamp Cooler?
Skipping winterization can lead to several problems.
Frozen water lines
Water trapped in the supply line can freeze and crack the tubing or fittings.
Roof leaks
A cracked line, bad fitting, or damaged pan can leak onto the roof.
Rust and corrosion
Standing water and debris can accelerate rust inside the unit.
Cold drafts
An uncovered or unsealed cooler can let cold air enter the home.
Bad smells
Dirty pads and trapped debris can create musty odors.
Expensive spring repairs
Problems ignored in fall often show up when you try to start the cooler in spring.
In other words, winterization is not just about protecting the cooler. It is also about protecting your home.
Signs Your Swamp Cooler May Need Repair Before Winter
Before covering the unit, look for problems that should be addressed.
Call for service if you notice:
- Water leaking from the unit
- Rusted or cracked pan
- Damaged water line
- Loose fittings
- Stuck float valve
- Pump problems
- Burning smell
- Motor issues
- Worn belt
- Heavy corrosion
- Water stains near the cooler
- Previous ceiling leaks
Repairing these issues before winter can prevent bigger problems when the system sits unused for months.
How Professional Swamp Cooler Winterization Can Save Money
A professional shutdown can help reduce repair costs by preventing common winter damage.
1. Prevents freeze-related plumbing repairs
Properly shutting off and draining the water line helps protect tubing, fittings, and valves.
2. Reduces risk of roof leaks
A technician can look for pan damage, loose fittings, and water issues before they worsen.
3. Protects the equipment
Cleaning and covering the cooler helps reduce corrosion, debris buildup, and weather exposure.
4. Makes spring startup easier
A well-winterized cooler is usually easier to start when warm weather returns.
5. Helps identify aging equipment
If the cooler is heavily rusted or failing, you can plan ahead instead of being surprised during the first hot week.
Final Thoughts: Swamp Cooler Winterization Protects Your Home Before Freezing Weather
A proper swamp cooler winterization helps prevent frozen water lines, cracked fittings, leaks, rust, cold drafts, and spring startup problems. While basic inspection and cleaning may be manageable for some homeowners, many systems involve rooftop access, plumbing connections, electrical parts, and freeze-protection details that are easy to miss.
Before winter, make sure your swamp cooler is shut off, drained, cleaned, inspected, and covered. If you see leaks, rust, damaged water lines, or anything that looks unsafe, call a professional instead of hoping it survives the season.
A little preparation in fall can save you from water damage, repairs, and frustration when spring comes back around.
Call 505 Plumbing, Heating & Cooling for Swamp Cooler Winterization in Albuquerque, NM
If you need swamp cooler winterization in Albuquerque, 505 Plumbing, Heating & Cooling is here to help. Our team can shut down your evaporative cooler for the season, drain water lines, inspect for leaks, check key components, install covers, and help protect your home before freezing weather arrives.
Whether you need seasonal swamp cooler shutdown, evaporative cooler service, swamp cooler repair, or help preparing your system for winter, we’ll make sure the job is done right.
Call 505 Plumbing, Heating & Cooling today at (505) 560-3865.
We treat every home like it’s our own.